
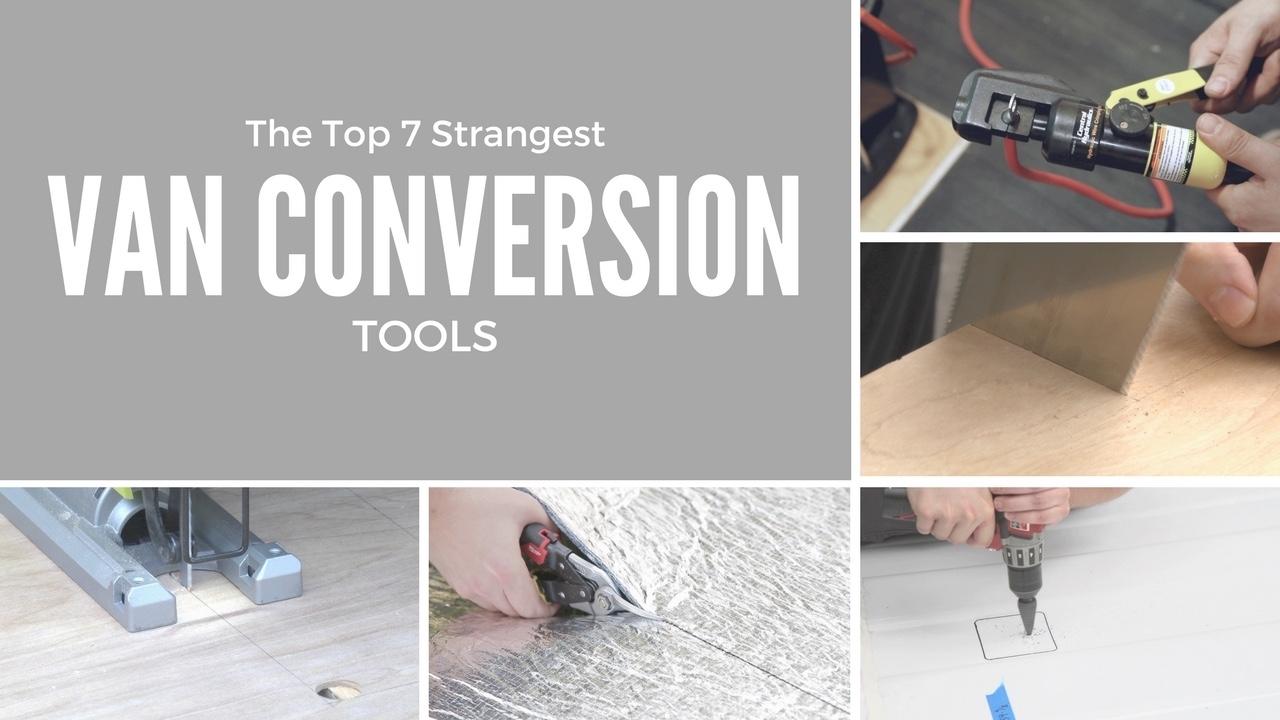
The Top 7 Strangest Van Conversion Tools
While I recently pondered the 10 most-used tools during a van conversion, I got bored talking about how I used my drill, screwdriver, and clamps a lot. Who cares? Instead I wanted to list the top 7 strangest tools that you might not expect to use during a conversion (and may not have yet). Here they are:
#1: Step Drill Bit
This unexpected electrician’s tool is used extensively for the routing of various wires and plumbing lines through sheetmetal, as well as for adding plumbing fittings to plastic tanks.

Drilling to install a grommet. [Source: Cargo Van Conversion Course]
This is one of my most-used tools in a van conversion. Because it “steps down” to about 10 different sizes, you can install a variety of rubber grommet sizes for different applications. The large-diameter holes it will drill also means you don’t need a set of gigantic drill bits to install grommets.
This one bit will do all of the sizes you need. I like the Lenox VB2 bit, which will drill all the way up to a 1-inch hole, which is needed for large 3/4” (inside diameter) rubber grommets. These bits are well-made and should last through your entire conversion from start to finish.
#2: Japanese Furniture Saw
These saws only cut on the “pull” stroke (when they are in tension), and this allows the blade to be thinner than other saws that cut in both directions.

Finishing a precision cut in paneling. [Source: Cargo Van Conversion Course]
The thin blade allows for some awesome accuracy, and the ability to “flush cut” protruding wood from a surface, without cutting into that surface. A joy to use, these saws are a great match for all of the custom woodwork and framing needed during a van conversion.
#3: Electrical Multi-Purpose Tool
Along with custom woodwork, van conversions consist of a lot of custom circuits to wire in different devices at various stages.

Using a multi-purpose tool to crimp a butt splice during a wiring demonstration.
[Source: Cargo Van Conversion Course]
This electrical multi-purpose tool will be used extensively for the cutting and stripping of small-gauge circuit wires, along with crimping on various loop terminals and butt splices. This odd tool will also be one of the most-used of your entire van conversion.
#4: Terminal Forge (or a Hydraulic Crimping Tool)
Technically two different tools, these allow you to “stamp” ring terminals onto the ends of large-gauge cables. This is pretty much essential, because trying to order every cable you need at the right length with the right-size terminals on the ends will pretty much make your head explode.

A demonstration of the less-expensive terminal forge.
[Source: Cargo Van Conversion Course]

The hydraulic crimping tool applies pressure on all sides with custom-sized dies [Source: Cargo Van Conversion Course]
These tools allow you to make “just-in-time” cables that are the perfect length and that have ring terminals that fit the various lug sizes the cables will connect to (sometimes the lugs on each end of a cable are different sizes). Give yourself the gift of making the exact cables you need, right when you need them. I recommend ordering one of these crimpers online as finding them locally can be difficult, even in larger cities. I also recommend heat-shrink tubing once your terminals are crimped on.
#5: 1-1/4” (32mm) Hole Saw
This ended up being the magic hole saw size for various stages of a van conversion, including cutting through floor mats to mount things to the sheetmetal floor, drilling greywater tanks for intake fittings, and creating pass-through holes in plywood for wires coming into your main solar electric system.

Drilling a hole for a fitting on a greywater tank (Note the step bit in the background, which was used to drill for a smaller fitting).
[Source: Cargo Van Conversion Course]
#6: Reverse-tooth Jigsaw Blade
Jigsaw blades normally cut “up” through the material you’re cutting, leaving some nasty tear-out on the surface of your piece. This often means you’ve got to draw your cut lines on the back, and cut from the back of the piece, turning it upside-down, for the “good” side to be clean and have the tear-out on the back. Except sometimes all of this maneuvering can get confusing, and you just want to draw your lines on the front of the piece, and cut from the front.

For precisely-located cutouts, cutting from the "good" side with a reverse-tooth blade can greatly simplify things. [Source: Cargo Van Conversion Course]
Reverse-tooth blades “push” through the cut, and the tear-out is on the backside of the piece. This can simplify and speed up your jigsaw cuts, especially while paneling your van. This 5-blade set from Bosch includes one of these rare reverse blades.
#7: Aviation Snips
Also known as sheetmetal shears, these are a life-saver for trimming blanket-style insulation.

Sheetmetal shears cut recycled denim radiant barrier like butter.
[Source: Cargo Van Conversion Course]
While insulating between your van ribs is helpful, not insulating over the van’s ribs is a mistake and will cause massive thermal leaks in your insulation strategy. I like to use Ultratouch recycled denim radiant barrier insulation over a van’s ribs, and I use aviation snips to cut large pieces as well as trim custom profiles into the material’s edges to fit the various curves around a van’s interior.
*Links above are affiliate links to specific tools and brands I personally use for van conversions
For more information on the Cargo Van Conversion Course, and to receive a copy of the Ultimate Van Conversion Cheat Sheet, click here.
Which tool do you think would be the most useful to you? Let me know in the comments!

